
Let's be real — hiring a body shop to repaint your car can cost a small fortune. We're talking anywhere from $1,000 to $10,000 depending on the quality of the finish. But here's something the pros don't advertise: you can absolutely paint your own car at home — and it can look incredible if you know what you're doing.

This guide walks you through the entire process step by step, with the right tools, techniques, and product recommendations from our full ATOM-X spray gun lineup to help you get there.
What You'll Need to Paint a Car at Home
Before you pick up a spray gun, here's your essential checklist:
- Air compressor (5–10 CFM at 40–60 PSI)
- HVLP or MP-LVLP spray gun
- Automotive paint (basecoat and clearcoat)
- Primer and sealer
- Sandpaper (320, 600, and 1500 grit)
- Masking tape and masking paper
- Tack cloth
- Safety gear — respirator, goggles, gloves
- A well-ventilated garage or DIY paint booth
Which ATOM-X gun is right for this job? For a full car respray, we recommend running a two-gun system: the ATOM X27 HVLP for basecoat and the ATOM X27 MP-LVLP for clearcoat. If you're on a tighter budget, the ATOM X20 MP-LVLP is a fantastic all-in-one option that handles both stages beautifully.
Step 1: Prep Like a Pro
A great paint job lives or dies in the prep stage — no exceptions. This is where most beginners cut corners and regret it later.
- Wash the car thoroughly to remove all grease, wax, and grime
- Sand the existing surface with 320–600 grit sandpaper until smooth
- Fill any dents with body filler and block sand until flat
- Mask off everything you don't want painted — windows, lights, trim, rubber, tires
- Wipe the entire surface with a tack cloth to remove dust right before spraying
Pro tip: For tight corners, door jambs, and hard-to-reach areas during prep spraying, the ATOM X9 Side Feed is your best friend. Its compact side-cup design lets you get into spots a full-size gun simply can't reach.
Step 2: Apply the Primer
Once your surface is smooth and clean, it's time to seal it up with primer.
- Mix your primer according to your paint system's instructions
- Apply 2–3 even coats using your spray gun
- Allow each coat to flash (partially dry) before applying the next
- After full drying, wet sand with 600–800 grit for a silky smooth base
The ATOM X20 HVLP is an excellent choice for primer application — its full-size gravity cup handles larger volumes of material effortlessly and the wide fan pattern covers panels quickly and evenly.

Step 3: Spray the Basecoat
This is where your car starts to transform. Take your time and be methodical.
- Apply basecoat in light, even passes — don't try to get full coverage in one coat
- Keep your gun 6–8 inches from the surface
- Let each coat flash fully before applying the next
- Plan on 2–3 coats for solid, even coverage
- Always test your gun settings on a scrap panel or cardboard first
For basecoat, HVLP technology is your best bet — it delivers soft, controlled atomization that lays color down evenly with minimal overspray. The ATOM X27 HVLP is our most popular gun for this stage, producing a finish so smooth customers consistently describe it as water glistening off glass.
Don't forget: Every ATOM-X gun ships with the GunBudd® Ultra Lighting System — a 5000K–9000K daylight beam that snaps onto your cup and floods your panel with light so you can see every drip, run, and dry spot in real time while you spray.
Step 4: Lock It In With Clearcoat
Clearcoat is what gives your paint that deep, glossy, protected finish. Don't rush this stage.
- Apply 2–3 coats of clearcoat in smooth, overlapping strokes
- Let each coat flash between applications
- Allow the paint to cure fully per the manufacturer's specs — typically 24 hours minimum before wet sanding
- Once cured, wet sand with 1500 grit and buff to a glass-like finish
For clearcoat, LVLP technology wins every time. The finer atomization produces a smoother lay-down with up to 85% transfer efficiency — meaning a better finish with less product wasted. The ATOM X27 MP-LVLP is the fan favorite here. If you want the absolute best, the ATOM X88 MP-LVLP comes with both a 1.3 and 1.4 tip so you're covered for every clearcoat scenario right out of the box.

How Long Does It Take to Paint a Car at Home?
With the right setup, you can complete a solid paint job in 2–3 days. That covers sanding, masking, priming, spraying basecoat and clearcoat, and light polishing. Add extra time if you're correcting bodywork or chasing a showroom-quality finish.
Which ATOM-X Spray Gun Is Right for Your First Paint Job?
Here's a quick breakdown of our full lineup to help you choose:
- ATOM Mini X16 HVLP — Best starter gun for touch-ups, small panels, and motorcycles. Compact, lightweight, easy to control.
- ATOM X9 Side Feed — The specialist for jambs, engine bays, and tight spaces. Side-cup design gets where other guns can't.
- ATOM X20 MP-LVLP / HVLP — A versatile full-size all-rounder. Great for full resprays on a single-gun budget.
- ATOM X27 MP-LVLP / HVLP — Our best seller. SATA-inspired engineering at about 1/3 the price.
- ATOM X88 MP-LVLP — The professional's choice. Available in Infinity and Bluemoon special editions. Includes 1.3 and 1.4 tip combo. $349.88 (regular $719.95).
Yes, You Can Do This
Painting your own car at home isn't just a weekend project — it's a skill you'll be proud of for life. With the right tools, a little patience, and the right spray gun in your hand, you can transform your ride from dull to show-stopping right in your own garage.
Ready to get started? Browse the full ATOM-X spray gun lineup at ZooLaa.com — with FREE shipping on all US orders over $249.
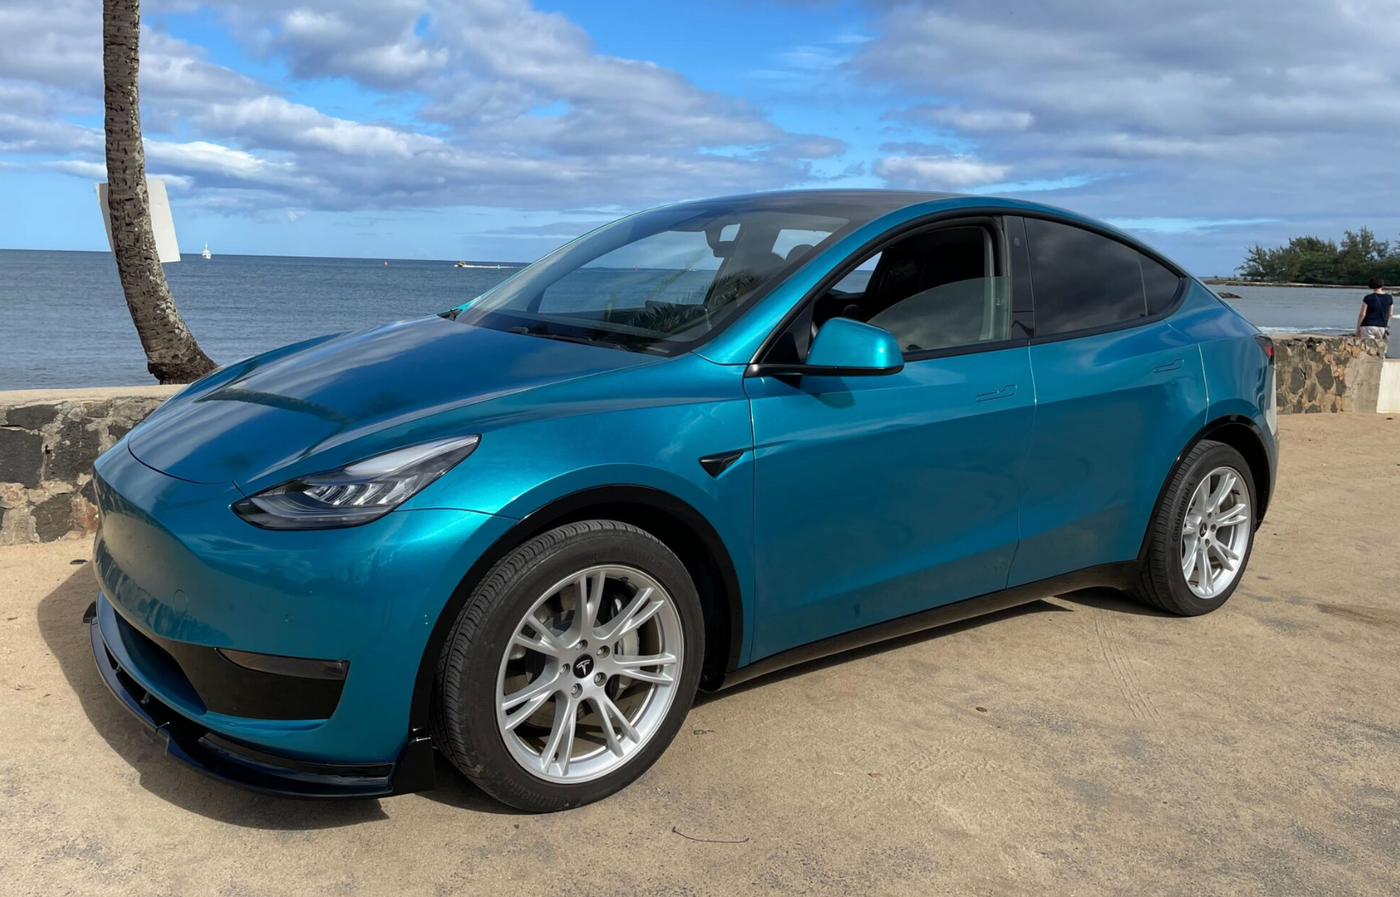
Want to see it in action? Watch Tony paint a Tesla Model Y at home using the ATOM-X spray gun and GunBudd® Ultra Lighting System.